Table of Content
Pay special attention to the places where rollers cannot apply paint — such as edges and corners. Most of the time, any knobs, pulls, or other hardware can simply be unscrewed. Removing the hardware before you paint allows you to evenly paint the whole wooden surface, and protects the hardware from drips of paint.
Make sure all nearby items are secured, so they don’t get in your way while painting or get covered with paint. If you have large objects, move them further away from where you’ll be working; set them on a table or other surface that’s easy to clean. If necessary, tape off sections of the wall or flooring where you don’t want the paint to go, and then remove anything else that might need protecting once it has dried. You can choose either water-based or oil-based paints, depending on how you want to finish the furniture. Make sure you get enough paint to cover your entire project.
How to paint laminate furniture without sanding?
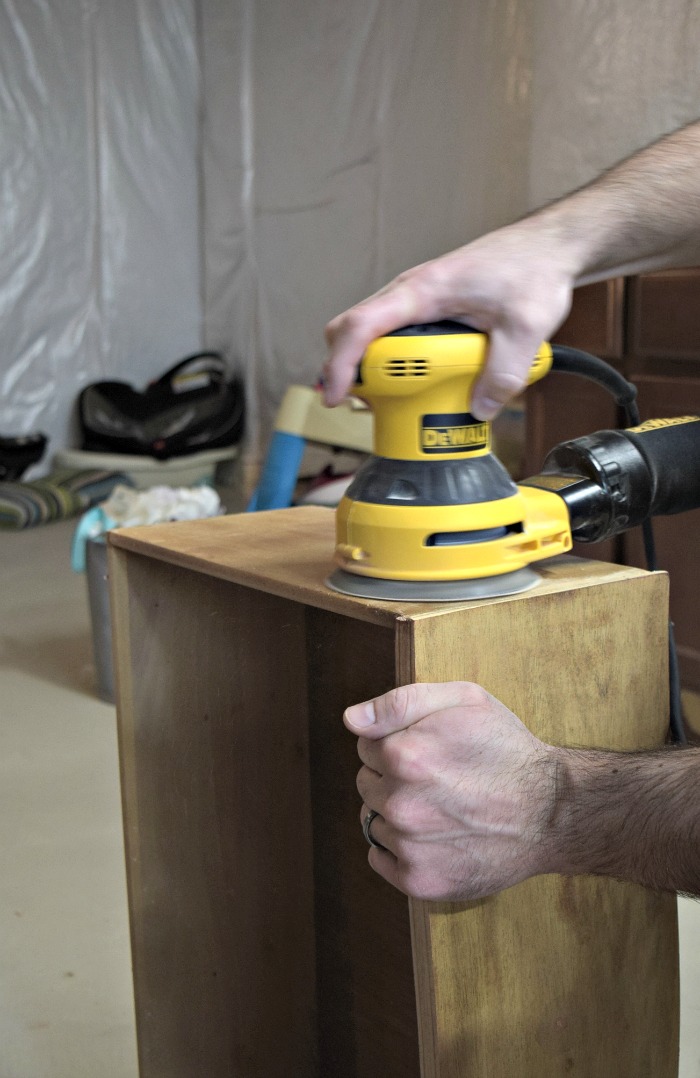
This involves cleaning and sanding the piece, as well as applying a primer or sealer if desired. After sanding, wipe your furniture down with a damp cloth or a tack cloth. The latter is a special kind of cloth available at hardware stores, which grabs onto even the tiniest debris. You want an absolutely smooth, debris-free surface before moving on to the next step.

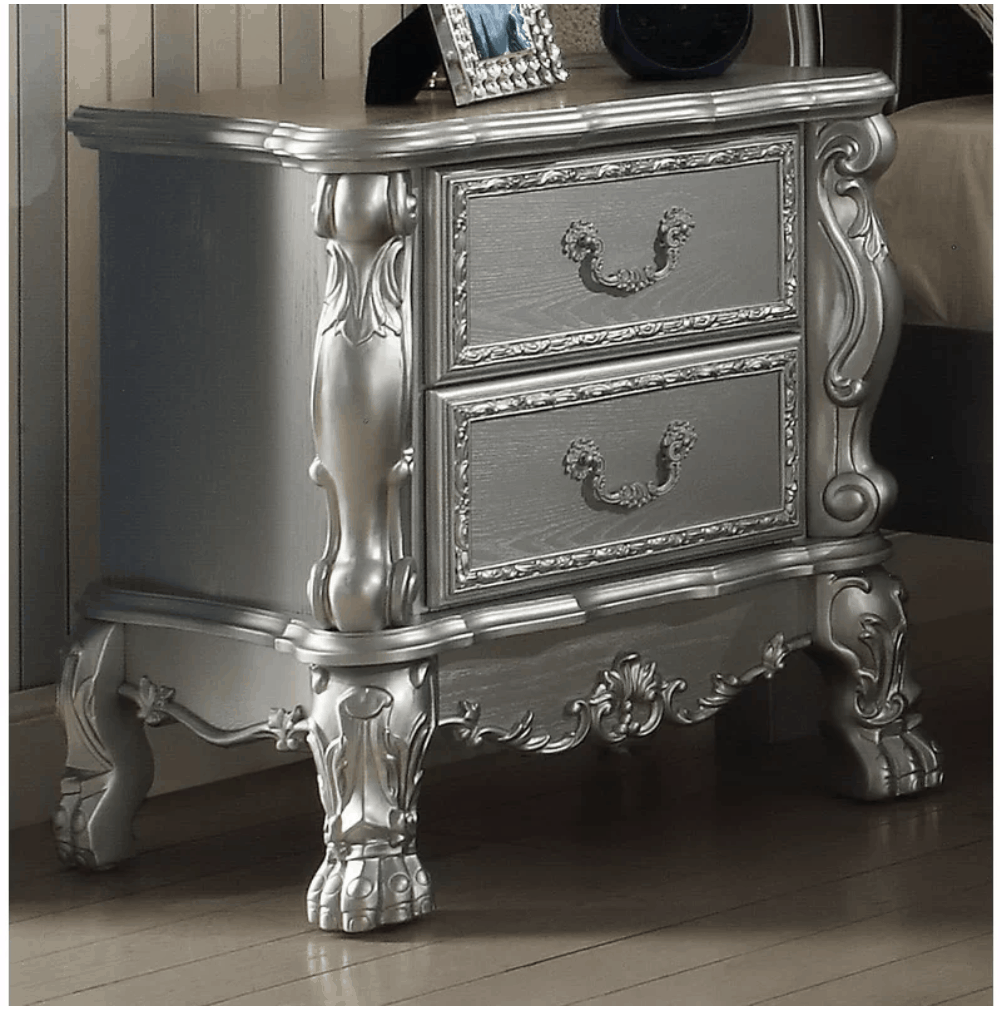
Though you appreciate the warmth of wood, you may wish to liven it up a bit—especially on a large, potentially stodgy piece like an armoire or hutch. Try this cool color wash technique, great on raw wood as well stained surfaces. Chalk paint is thinned with water and brushed on, then wiped off. The beauty of the grain will show through the subtle color.
What kind of paint do you use on wood furniture?
I personally like a satin finish but obviously chose the finish based on your own preferences. If you forget this step, the next coat of paint will have a rough, bumpy texture. Once that coat dries, you’ll have to sand back down to the primer layer and start over again.
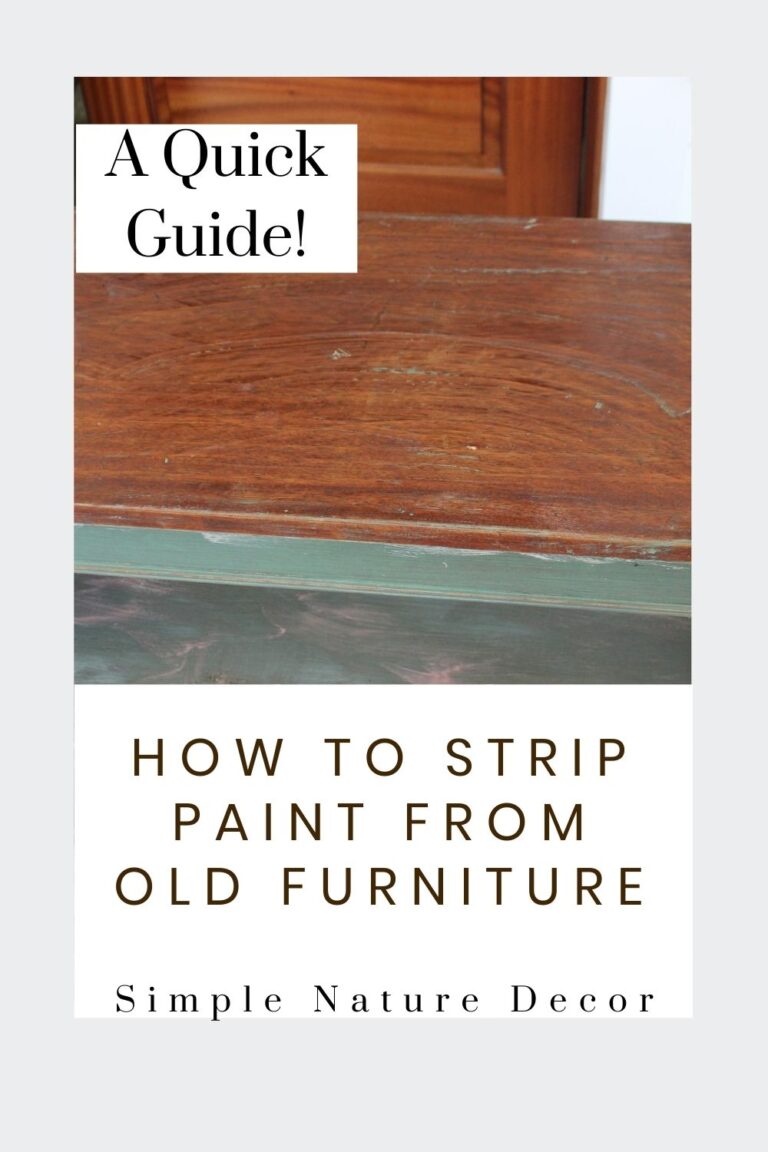
Finally, use a roller to apply an even coat of primer to the furniture. Next, apply primer to the rest of the furniture with a larger paintbrush. Once you’ve removed any loose paint or stain, you’ll need to strip the existing finish off of the furniture. Be sure to follow the manufacturer’s instructions carefully when using this product.
Branch Furniture Daily Chair vs Ergonomic Chair – is the more ergonomic unit better?
Chalkboard paint is great for creating a distressed look. After it dries, lightly rough it up with a piece of 220-grit sandpaper. Focus especially around the edges or handles, where wear would naturally occur.
Sand enough so that the filled portions are flush with the rest of the furniture. I hope this gives you confidence to try restoring a vintage piece! For tips on how I do my vintage hunting, or “junking”, head over and read this.
Checking the label for best practice guidelines
If you have a piece of furniture that you want to spruce up, it’s time to learn how to paint furniture. The first thing you need is a piece of furniture that will not break in half when you’re working on it. You will also need some sort of protective covering for your work surface, and something to cover your floor with – newspaper and plastic drop cloths work great. If you plan on painting several pieces at once, we suggest investing in an inexpensive tarp as well. Finally, it is always a good idea to have an extra layer of paint nearby in case you need to touch up any spots after you finish painting.
We experimented with one drawer before tackling the entire project. If your piece doesn’t have drawers, consider using a side, corner, or back to get you started. Remove any hardware, doors, and drawers and dismantle any sections of the furniture that is easily removable to allow for even coverage across the entire piece. By submitting your email, you agree to our Terms and Privacy Notice.
This site is protected by reCAPTCHA and the Google Privacy Policy and Terms of Service apply. Get the latest This Old House news, trusted tips, tricks, and DIY Smarts projects from our experts–straight to your inbox. Start with smaller pieces, like vases or candlesticks, and get them done before you start working on more expensive items, such as antique cabinets or grandfather clocks. Resist that urge—the amount of time spent preparing will make all the difference when it comes to achieving a high-quality result. Furniture can be expensive, so it might seem tempting to do less prep work than would normally be required when painting a wall. You'll have to start over if you don't like the color tone.
'Begin by painting a piece of furniture one color and then, once it’s dry, paint over it with a completely different second color. Sand back through to the first color and in some areas go back as far as the original wood. With the right color combination, it looks beautiful,' says Annie Sloan. Lots of chalk and mineral paints feature an integrated primer meaning that after a light sanding and a wipe down, you can apply the paint and still achieve a flawless finish.
But it certainly requires a lot more prep than some other methods. Not completely, but again just enough so that the surface is dulled. Then using the TSP cleaner, the surface will need a good cleaning. Another thing you’ll want to do is offer your furniture a good cleaning.


No comments:
Post a Comment